Learn About Label Printing
We offer everything from pre-cut blank labels that you can print onto using your own equipment to pre-printed data labels, ready-to-apply product labels, and fully customized prime labels of all types, printed precisely to your specifications. We can produce any and all of these using flexographic, silkscreen, offset, and digital printing alike.
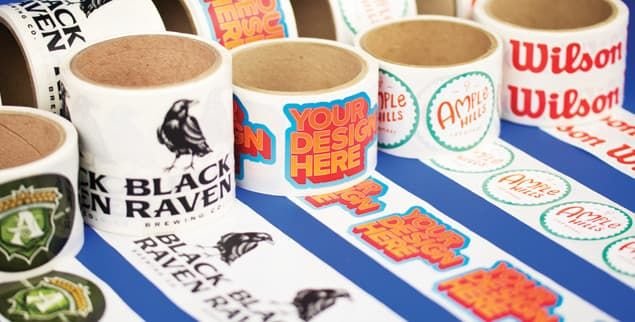
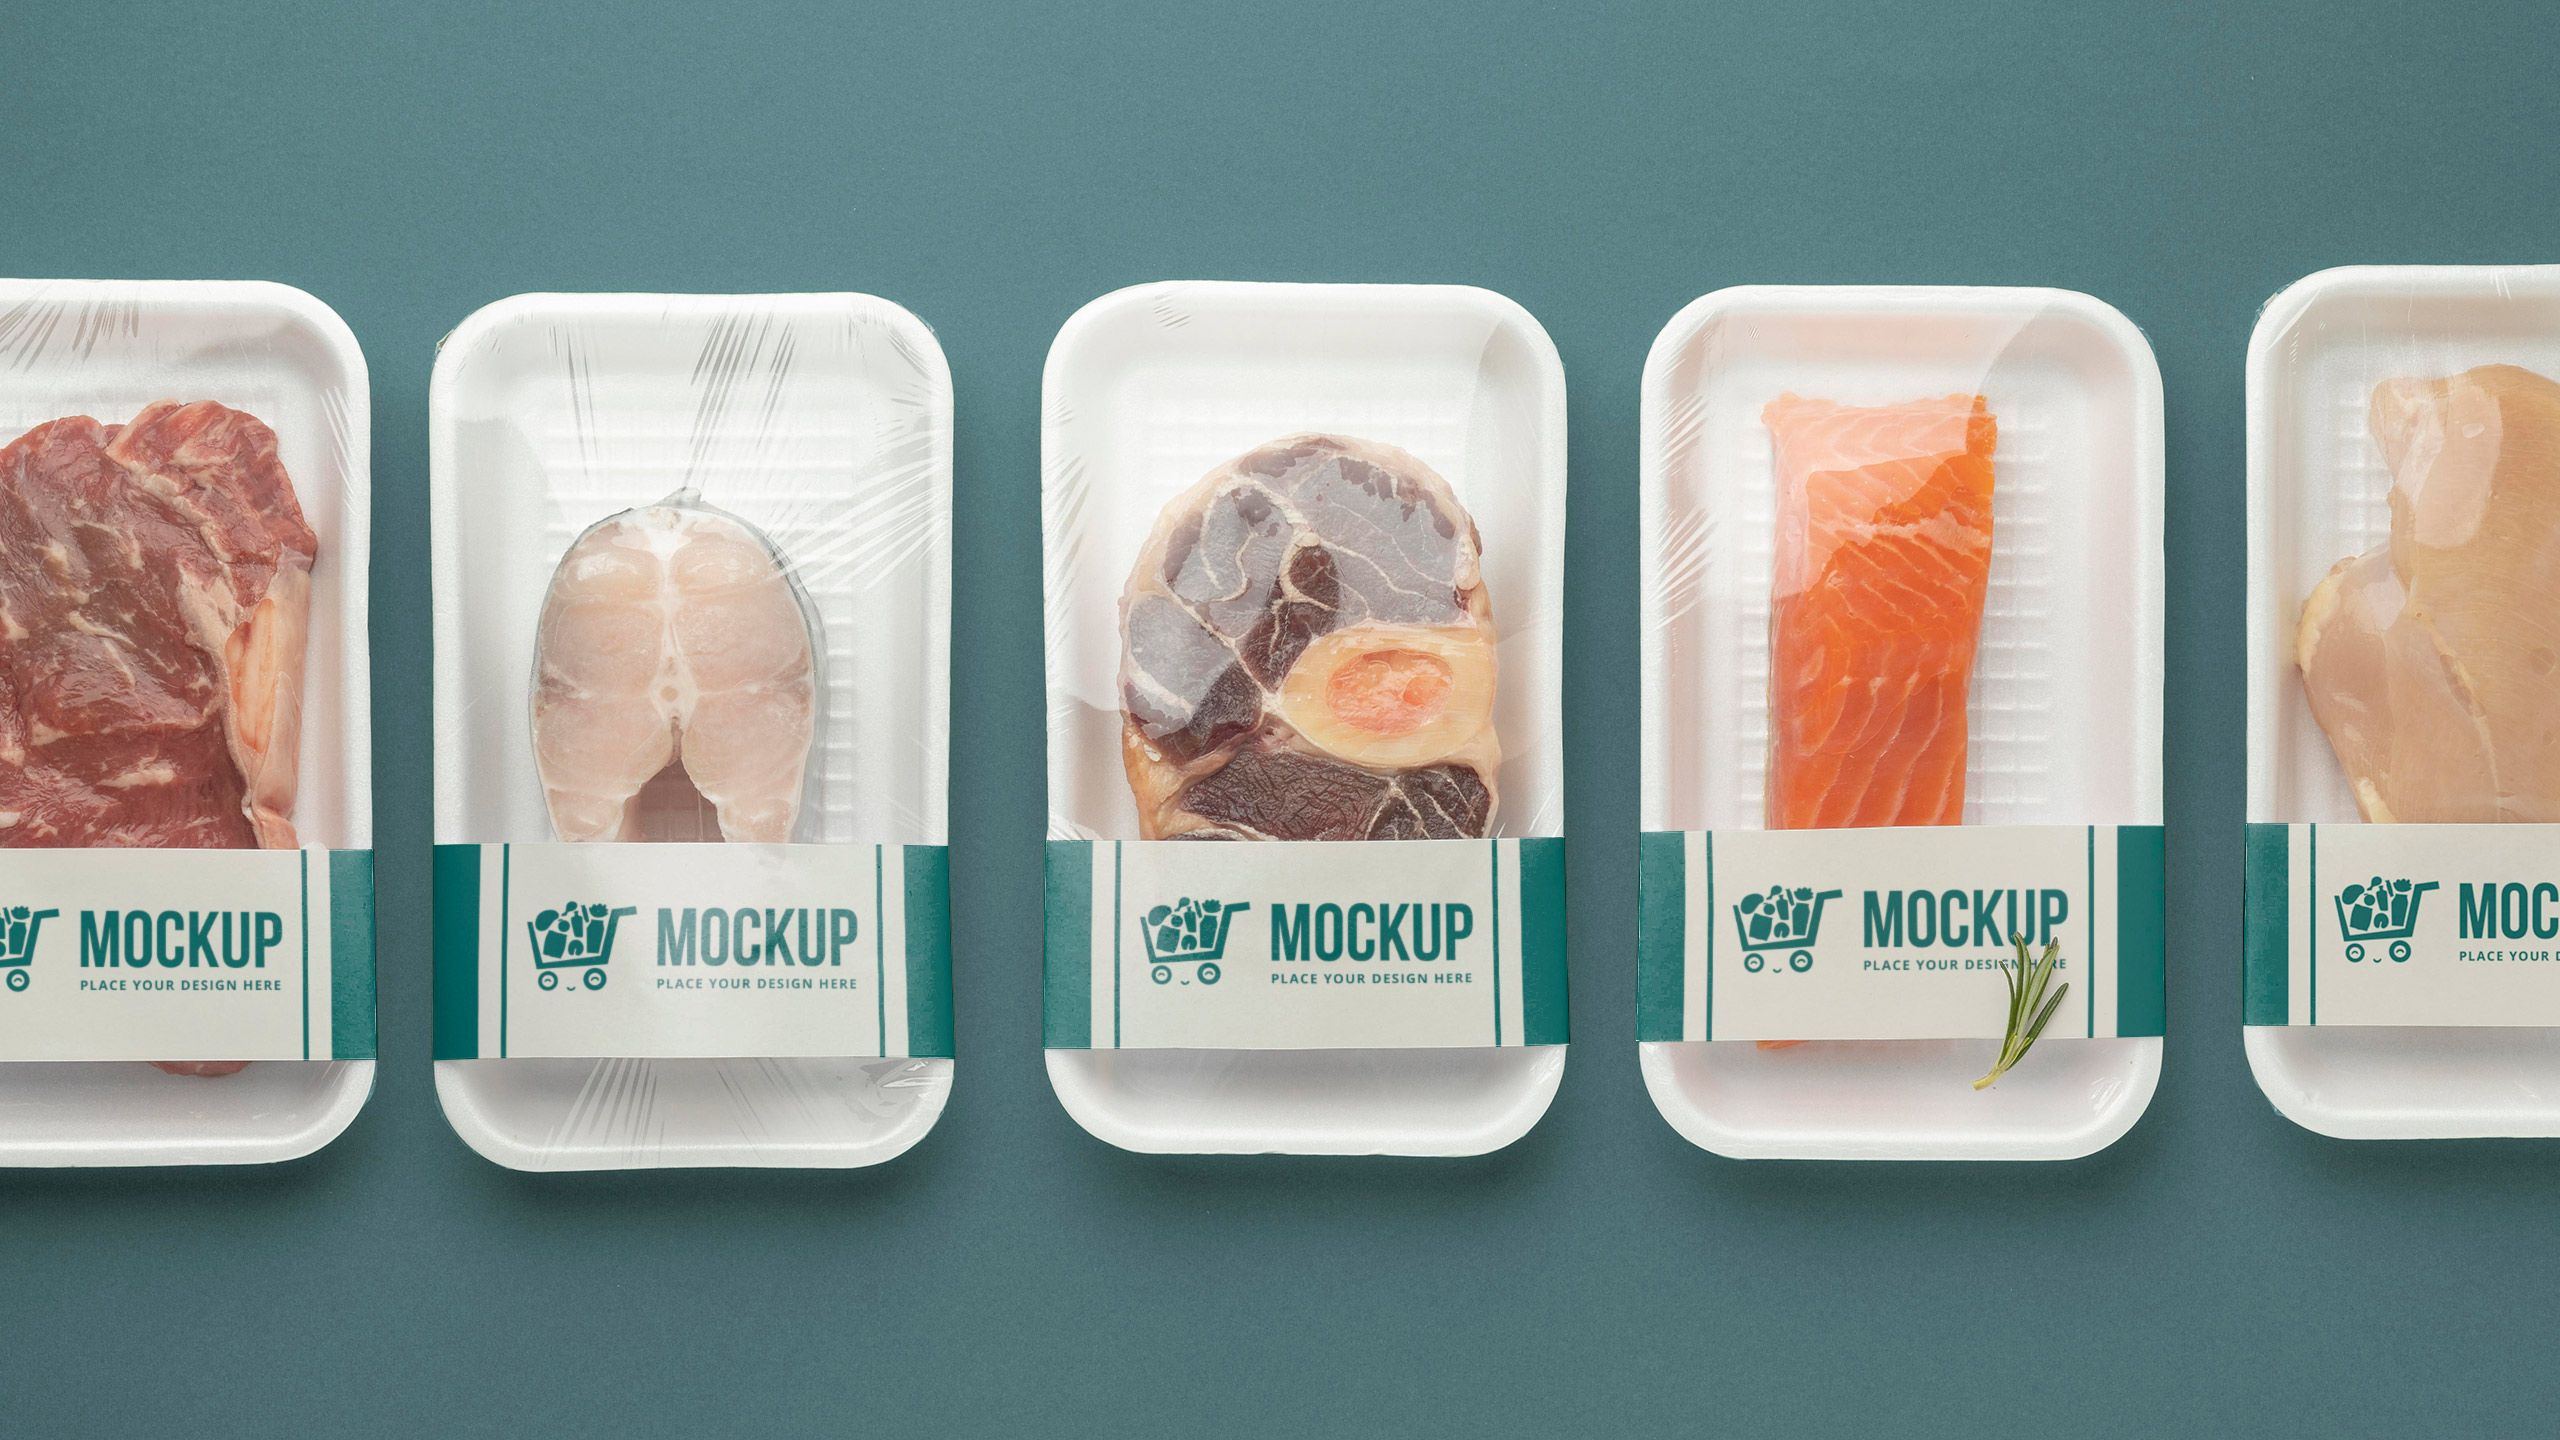
On the custom labels front, we can capture almost any graphic concept and transfer it onto labels. If necessary, we can make basic modifications to your image files to tweak them toward perfection.
We offer the following services:
- Flexographic Printing. This is the classic “analog” printing process in which we take advantage of UV-cured flexo-inks (along with other practices) to produce super-sharp custom labels. Click here to learn more about our flexographic printing process.
- Bar-Coded Labels. These scannable labels come in a wide range of types, ideal for pricing, inventory and asset control, and information processing. On our website, we provide a complete explanation of environmental considerations, third-party bar-code services, and other bar-code label pointers.
- Proofing. Once we’ve received your art and specifications, we’ll put everything together and produce a proof for you to review. Some people don’t want to bother with proofs, because they slow down the process. And of course, we’re vigilant about precisely following customer specs and doing a careful job of proofreading. But mistakes can happen—and even if everything is otherwise perfectly fine, you may decide, once you’ve looked at the finished proof, that you’re not happy with your original specifications. It’s better to discover this during the proof stage than after the job is printed, so we highly recommend that you take a close look at your proof before we get started with the actual printing process. The quickest option is to send you proof by email in PDF format because all you have to do is check the graphic elements, spelling, size, etc. However, we recommend you review an actual, physical press proof if you order labels in color because you can’t count on colors being represented in the same way from one computer monitor to another. A physical proof will include the exact colors and coatings we plan to use for your job, printed on the exact same label materials (substrate, adhesive, liner, and all). We’ll also include die-cutting lines, so you can see exactly where your labels will be cut. I can’t overstate how important it is to VERY CAREFULLY examine your proofs before we start the print job, so please don’t bypass this vital part of the printing process!
- Full Bleed Printing. When printing color labels, we often use a process called “full bleed” to make sure the color on the labels extends right up to the edges, without leaving any white spaces. Basically, the labels are printed just a bit larger than they need to be, usually by about 1/16 of an inch on all sides. We do this because the printing material can “drift” a tiny amount during processing—as much as 1/32 of an inch. By allowing a full bleed of an extra 1/16-inch on all sides, we can ensure that color goes all the way to the edges all the way around when we cut the labels.
- Spot Color Printing. This process, which uses the patented Pantone Matching System, is ideal for color matching and maintaining color consistency. For more information about the importance of PMS matching, check out this blog entry. The Pantone System makes accurately matching colors a lot easier since colors don’t always look the same on different computer screens or even to different eyes. Basically, spot color printing produces a single, solid color rather than mixing specific component colors like RGB, CMYK and other processes do. It can produce exactly the right color with one pass, unlike the multicolor processes. We’ve all seen Sunday comics where the printer didn’t quite overlay the colors right, resulting in an odd-looking, blurry overprinting situation where you can see the evidence of the multiple color runs, rather than the colors blending together as they should.
- Full-Color Printing. Also known as the four-color process, this printing method uses various mixtures and overlays of just four colors—Cyan (C), Magenta (M), Yellow (Y), and Black (K)—to achieve nearly the full range of color detectible by human vision. (This is how most inkjet printers work, for example). It tends to be less expensive than spot color printing since you don’t have to mix and pour specific colors of inks, and is great for photography or economical multicolor printing. Some forms of CMYK full-color printing (especially halftone printing) are accomplished by forcing the ink through fine cloth screens, which are usually offset a bit to reduce moiré patterns.
- Varnishing. This is a type of finishing touch, in which a fine liquid varnish is applied to the label to produce either a matte (non-shiny) or gloss (shiny) coating after it dries. While this provides a decorative and protective covering that resists abrasion, moisture, and chemical degradation, it does have its disadvantages. For example, you can neither write nor print on top of varnish, so once the varnish is applied, nothing can be done to modify the label.
- Over-Laminating. This represents a type of finishing touch that involves the application of a tough plastic coating, which enhances the printing quality and helps protect the label from surface friction, weathering, and fading. One benefit of over-laminating, as opposed to varnishing, is that some types of lamination do allow you to print or write on top of them. Types of over-laminating include polypropylene (short-term), polyester (long-term), matte, and thermal transfer receptive.
- Back Printing. This refers to the practice of printing on the front of the label stock as well as either the adhesive side of the uncoated back of the label liner, thus either doubling the marketable surface area or providing special instructions for the label’s use. Adhesive-side printing allows printing on both sides of the label, which is ideal for windows, clear bottles, and coupon labeling. Obviously, the back-side printing must be done before the application of the adhesive. Car window stickers, including inspection stickers, are a good example of labels with adhesive-side printing. Another special type of back printing is undertaken for Double-Sided Window Decals, which allow you to promote items both to customers inside your store and prospects walking by outside. Label liner printing can be performed to provide instructions on how to use the label, to identify the type of label, or to do a little extra advertising. This is done on the side of the label facing outward, rather than the coated side facing inward toward the adhesive (the coated side generally won’t take printing anyway due to the slickness of the coating). If you’ve ever seen a sticker or label that read something like “Peel here” on the back, then you’ve seen label liner printing.
- Digital Printing. This printing method uses a digital interface, such as a computer, that allows a much speedier set-up of the initial conditions, often using PDF and image files provided via software or email download. This allows label printing without the creation of special plates, which in some cases enables printing with a faster turnaround time and lower costs. Smaller print runs also become more economical with digital printing, though flexographic printing still tends to produce sharper, more professional-looking labels, and remains the standard for large (especially 25,000+) print runs.